Our work — an honest gallery
What good chimney work looks like.
Before-and-after photos are everywhere in this trade — and most tell you very little. This page does something more useful: it shows representative examples of the three most common chimney repairs and explains what failed, what the fix involves, and how to tell it was done right.
The visuals on this page are representative examples of common chimney services — not Charter Oak job photos. Every real job we do is photo-documented for the homeowner; a gallery of our own completed projects is in the works.
$149 inspection fee, credited toward service if you proceed.
Example 01 — Masonry repair
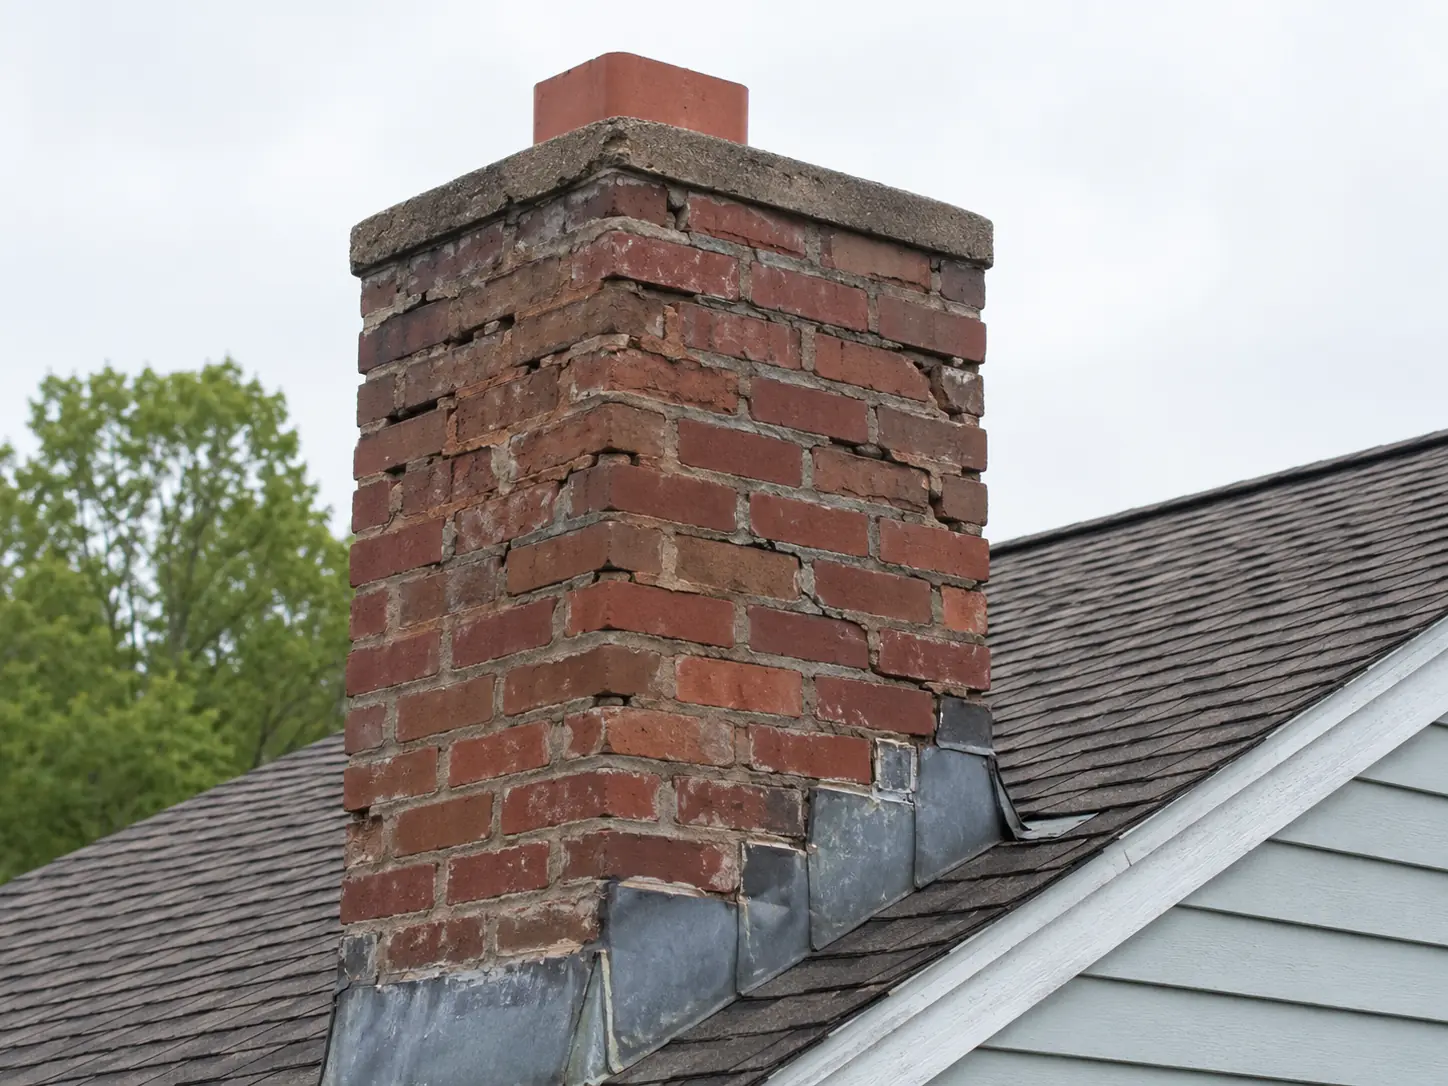
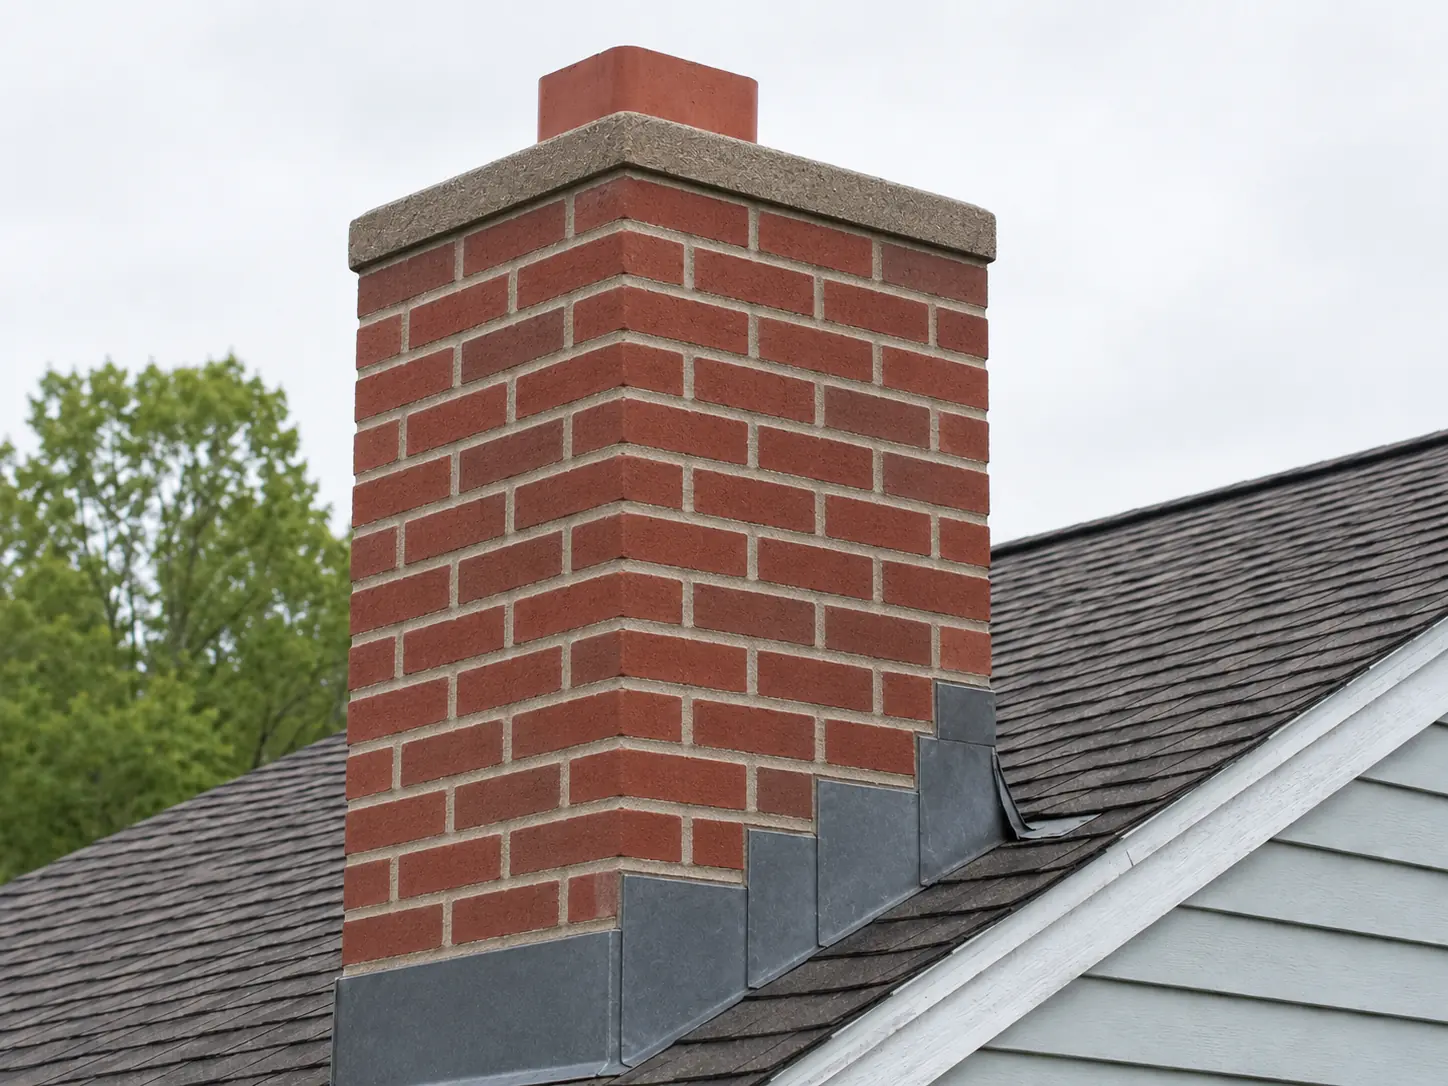
Failing mortar joints, repointed
Mortar is the sacrificial part of a chimney: Connecticut's freeze-thaw cycles crumble it long before the brick fails. Once joints recede or crack, water gets behind the brick face and the damage accelerates. Repointing means grinding the failed mortar out to a sound depth and repacking the joints with a mortar matched to the original. Done right, you see full, evenly tooled joints — not a thin skim coat smeared over crumbling material.
Example 02 — Crown repair
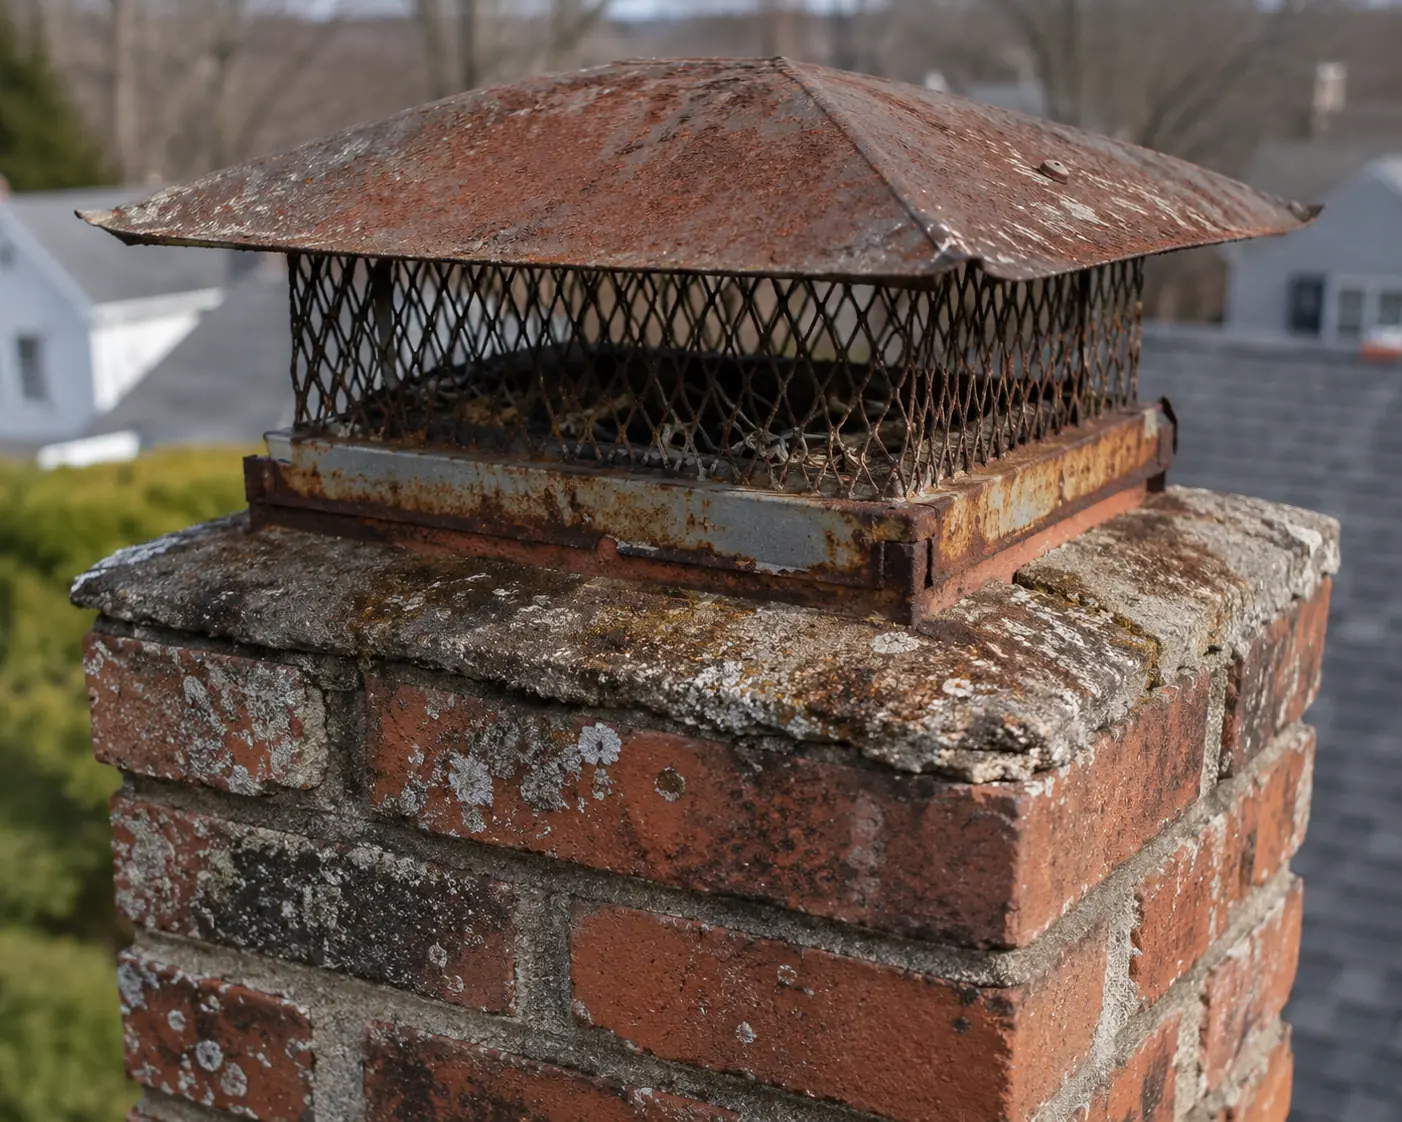
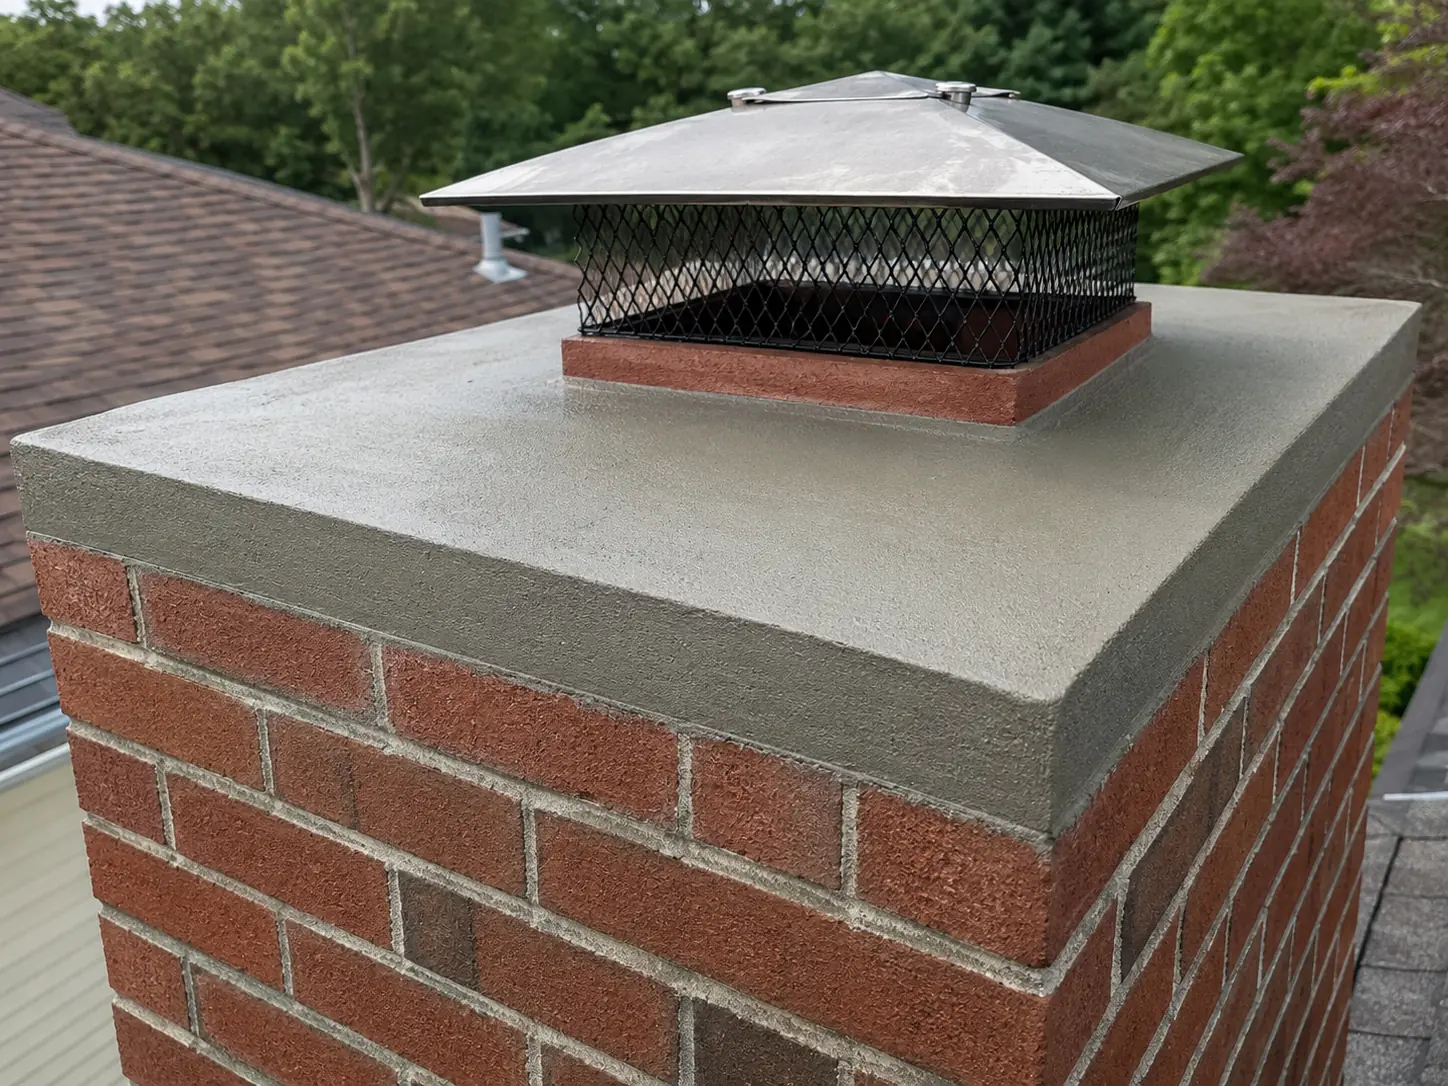
A cracked crown, sealed against water
The crown is the concrete slab that caps the top of the chimney. Hairline cracks look harmless, but water settles in, freezes, and pries them wider each winter — then soaks down into the flue and masonry below. A proper repair either seals a structurally sound crown with a flexible crown coat or rebuilds a failed one with a slope that sheds water. Done right, the surface is smooth, pitched away from the flue, and free of spots where water can pool.
Example 03 — Flashing repair
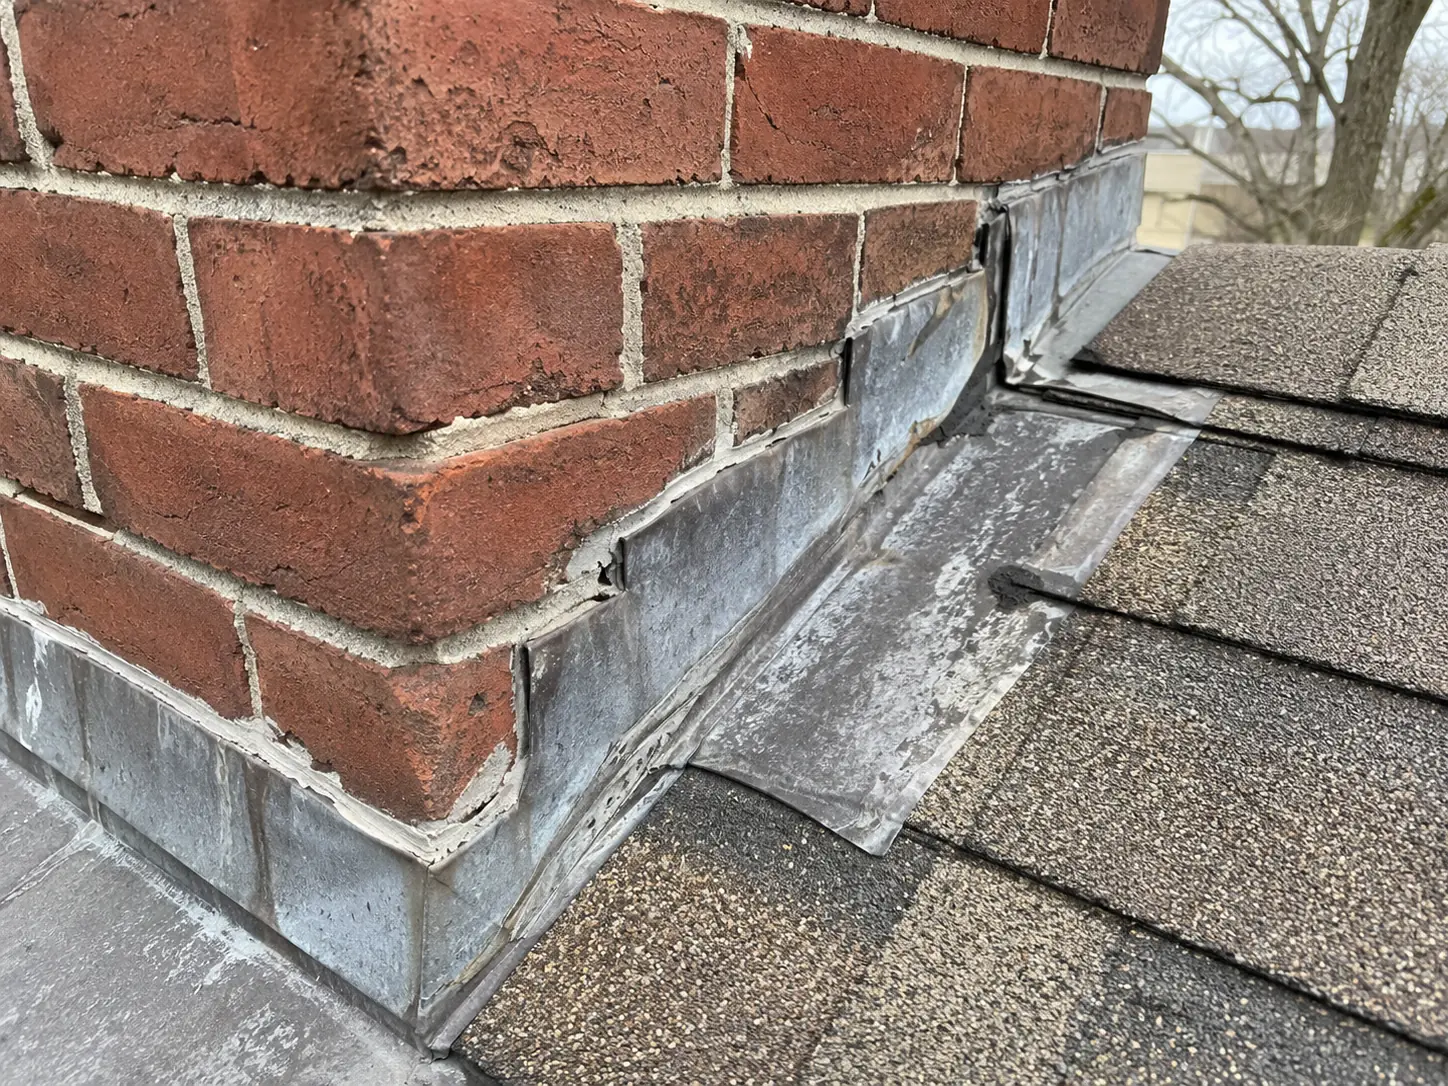
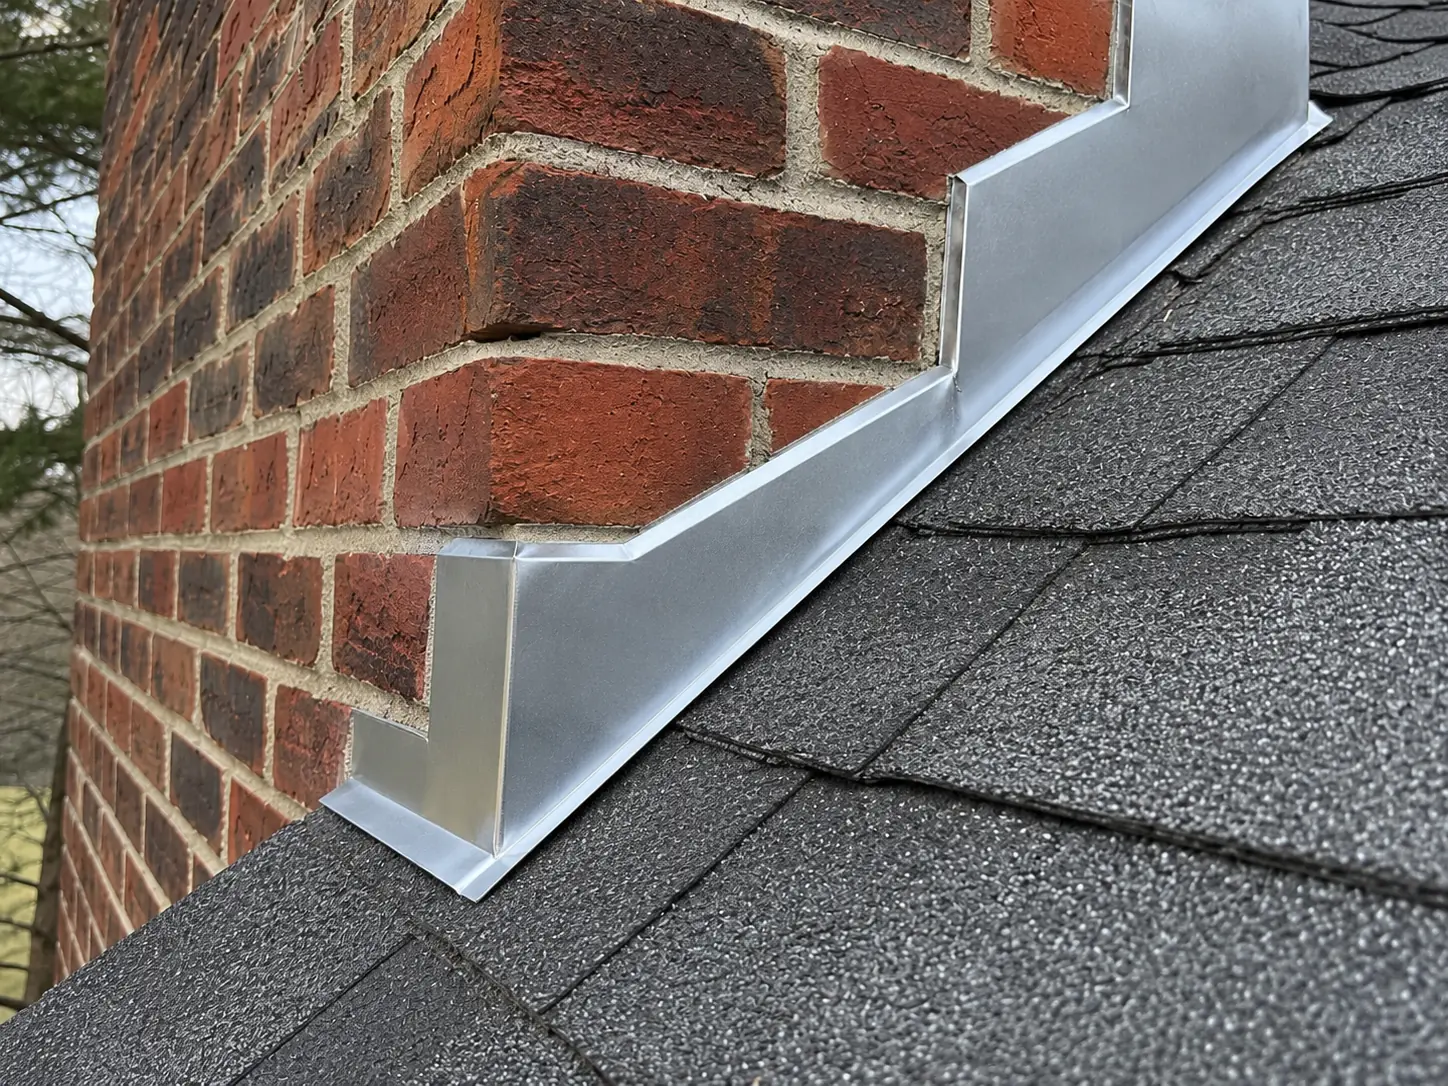
Leaking flashing, properly layered
Flashing is the layered metal where the chimney meets the roof — and it's the most common source of the "chimney leaks" that show up as ceiling stains. It fails when the metal rusts, lifts, or was never layered correctly and someone chased the leak with roofing tar instead. A real repair uses step flashing woven into the shingle courses and counter flashing set into the mortar joints above it. Done right, you see clean overlapping metal — not smears of black sealant.
The real promise
Every Charter Oak job is documented
We'd rather show you your own chimney than someone else's. That's how every visit works — no exceptions.

Next step
See what your own chimney needs.
A $149 assessment, credited toward service if you proceed — with photos of your chimney, not stock imagery.